I began exploring and working on my project. Here’s what I did and learned in 50+ minutes of work!
I crafted this timeline to highlight my spring break trip. So, from booking the tickets to the final stop of the trip, I was sure to take photos and videos to be able to strongly convey the events of my trip and to have a good chronological sequence of events to work off of.
To begin, I followed the steps listed on the website to create my own timeline. I thought this was by far the best way to assess the affordances and constraints of the interface.
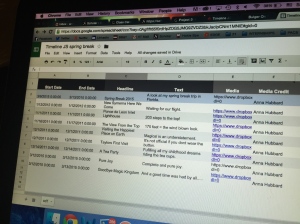
I downloaded the template that was available on the site and began to fill it in; of course, I did have to consult the FAQ a number of times as a number of the fields left some basic questions unanswered.
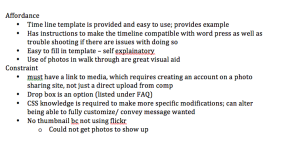
While I was adding my media, both videos and images in order to use all the modes of communication to make my timeline as engaging and appealing as possible, captions, credit information, and filling in the required fields to the template I took notes on specific affordances and constraints I saw along the way. I chose to do this because I thought it would make writing my essay and easier process as it would serve as an outline of specifics I found important to include.
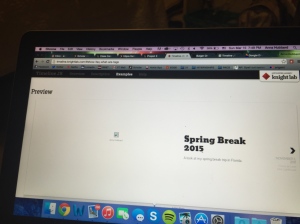
Lastly, I followed the remainder of the steps laid out on the website, which involved how to share the media and generate the timeline. Then I previewed the timeline to see the final product.
After going through the preview I found a few issues that I need to revise, as my photos and videos are not showing up and I am not a fan of the font.
Now all thats left is to tweak the timeline so its how I want it, figure out how to address the issues that I found while using the interface, formulate my notes into my essay, and create my powerpoint!


